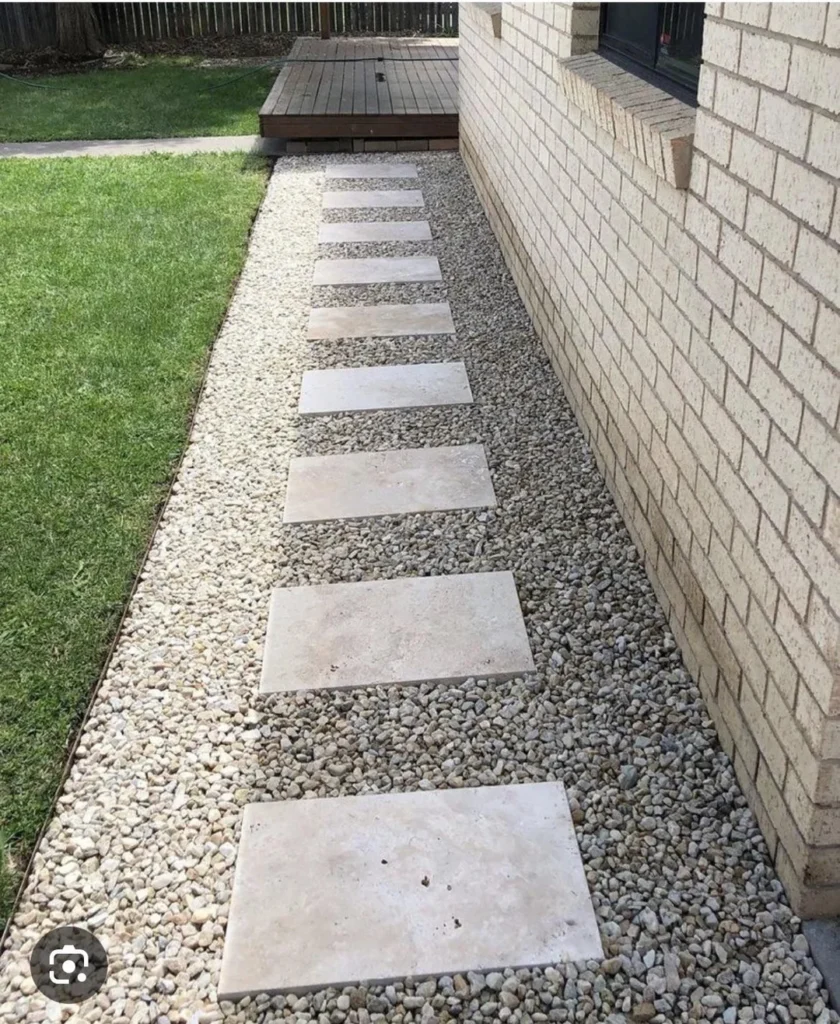
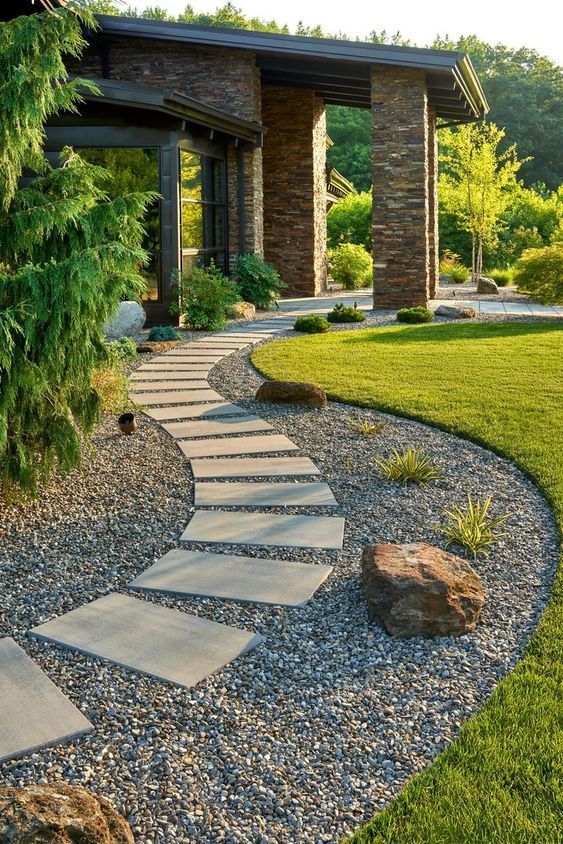
Creating a stepping stone path through your garden or yard is a great way to enhance your outdoor space while offering a practical solution for foot traffic. Whether you want to install a path through grass or gravel, this DIY project can be completed over a weekend and doesn’t require advanced skills. Here’s a step-by-step guide on how to build a stepping stone path through grass or gravel that looks professional and lasts for years.


Why Build a Stepping Stone Path?
A stepping stone path not only improves the aesthetic appeal of your garden but also:
Prevents soil erosion
Keeps grass and gravel tidy
Creates a defined walkway
Reduces wear on lawns
With the right planning and materials, building your own path is affordable and rewarding.
Materials You’ll Need
To build a stepping stone path, gather these essential tools and materials:
Stepping stones (natural stone, concrete, or pavers)
Shovel or spade
Garden hose or string (for path layout)
Landscape fabric (optional for gravel areas)
Level
Rubber mallet
Sand or crushed gravel (for leveling)
Grass seed or gravel (for surrounding areas)
Planning Your Path
Before you begin digging, it’s important to plan your path layout. Use a garden hose or string to outline where the stepping stones will go. Take into consideration:
Foot traffic flow – Where do you walk most frequently?
Stone spacing – Ideally 18-24 inches apart (heel-to-toe stride)
Path shape – Curved or straight, depending on your space and style
Use this planning phase to choose the type and size of stepping stones that suit your landscape design.
Step-by-Step: Building a Stepping Stone Path Through Grass
Mark the Path
Lay out your stepping stones on the grass to visualize placement. Adjust as needed for stride length and symmetry.Cut and Remove Turf
Using a spade, cut around each stone’s outline. Remove the turf and about 2–3 inches of soil beneath the grass.Create a Stable Base
Fill the hole with a 1–2 inch layer of sand or crushed gravel to provide drainage and leveling support.Place the Stepping Stones
Set each stone into the base and press down firmly. Use a level to ensure stability. Adjust with more sand or remove excess as needed.Tamp and Test
Use a rubber mallet to tap the stone into place. Walk on the stone to check stability.Fill Gaps
Refill the edges around the stone with removed soil and tamp down. You can reseed the edges with grass seed to blend in.
Step-by-Step: Building a Stepping Stone Path Through Gravel
Define Your Path
Use string or edging to clearly outline your gravel path.Excavate the Path Area
Remove 3–4 inches of topsoil across the entire path. Make sure the base is even.Install Landscape Fabric (Optional)
To prevent weed growth, lay landscape fabric across the path.Add and Level Gravel Base
Fill the path area with crushed gravel or decomposed granite. Compact it down using a tamper.Place the Stepping Stones
Set your stones directly into the gravel base. Use a level to ensure they’re even and stable.Backfill and Finish
Fill the spaces around the stones with gravel to hold them in place. Sweep over the path to even it out.
Pro Tips for a Long-Lasting Stepping Stone Path
Choose non-slip stones for safety, especially in wet areas.
Maintain your path by removing debris and checking for uneven stones.
For a natural look, allow moss or grass to grow slightly over the edges.
Consider solar lights to enhance the path at night.
Common Mistakes to Avoid
Skipping the base layer – This leads to sinking stones over time.
Poor stone spacing – Uneven or awkward steps can cause tripping.
Ignoring drainage – Inadequate drainage leads to mud and shifting stones.
Using thin stones – Thin stepping stones may crack under pressure.
Maintenance Tips
Inspect the path monthly for shifting or weeds.
Add more gravel or soil as needed to keep stones level.
Mow around grass paths carefully to preserve stone placement.
Conclusion: Create a Path That Lasts
Building a stepping stone path through grass or gravel is a satisfying DIY project that enhances the look and function of your garden. With the right tools, materials, and a little weekend effort, you’ll create a path that’s beautiful, practical, and long-lasting. Whether you’re crossing a lawn or navigating through gravel, this guide helps you do it right the first time.

